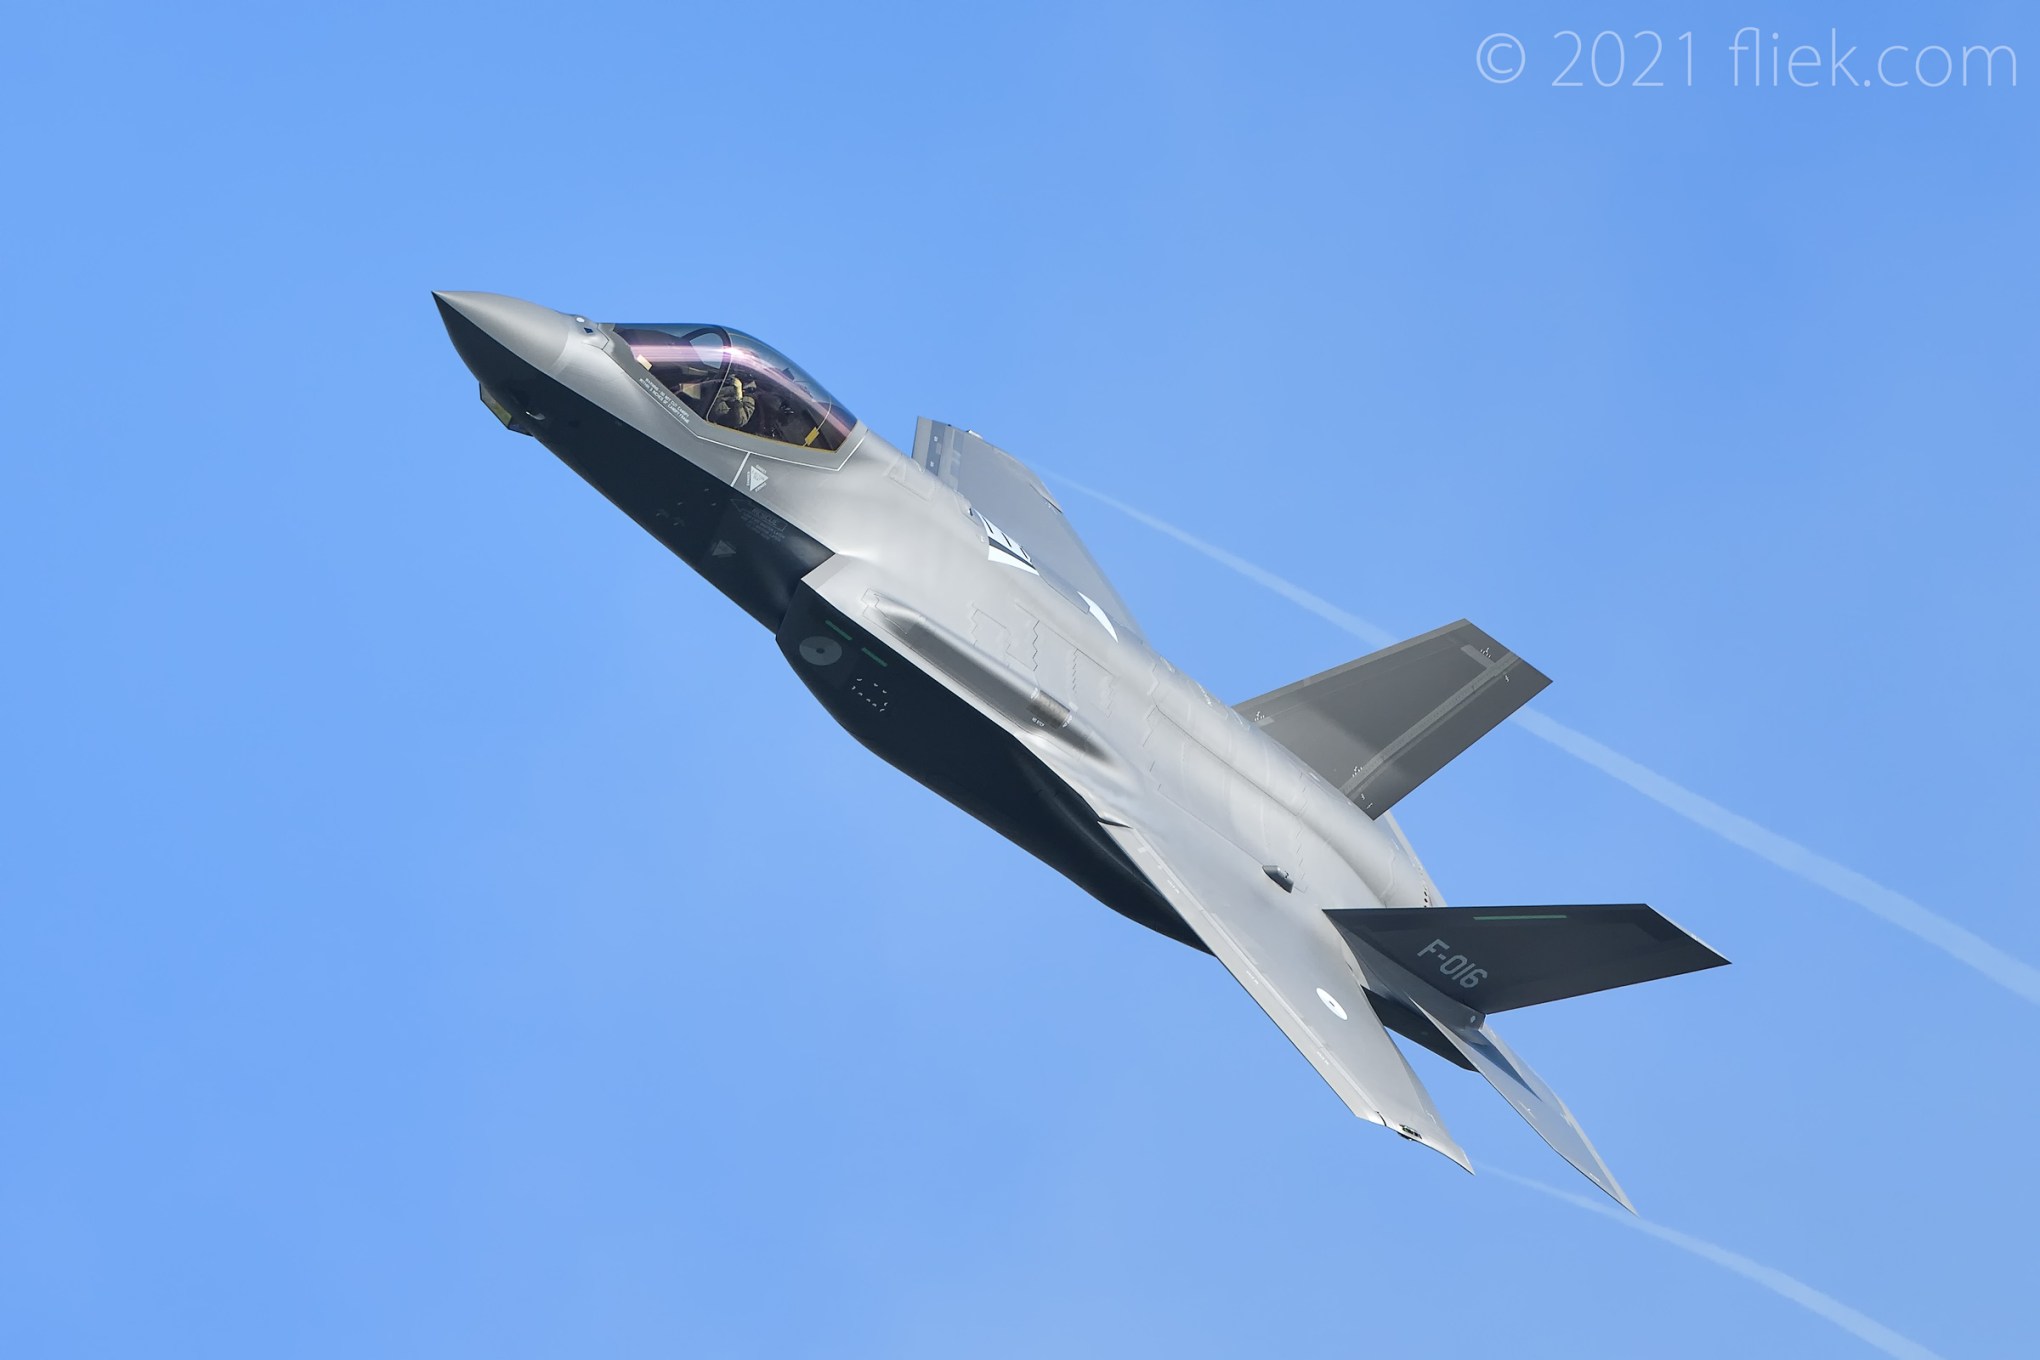
At the end of my first – and still only ‘Frisian Flag’ exercises here in the Netherlands I had a colleague asking me where I was located when I took the shot of the Dutch F-16. The shot was angled in such a way that it gave the impression I was positioned not on the ground but above the F-16, or at least ‘somewhere in the air’. This was the first time I realized (I’m just a beginner after all :) that the roll of the jet (angle from nose to tail), pitch, and angle between the photographer and the jet can create this illusionary effect.
“Lt. Col. Ian ‘Gladys’ Knight take-off”
Nikon 600mm f/4E FL on Nikon D850, f/5.6, 1/1600 s., ISO 200, AF-Area Mode: 3D-tracking
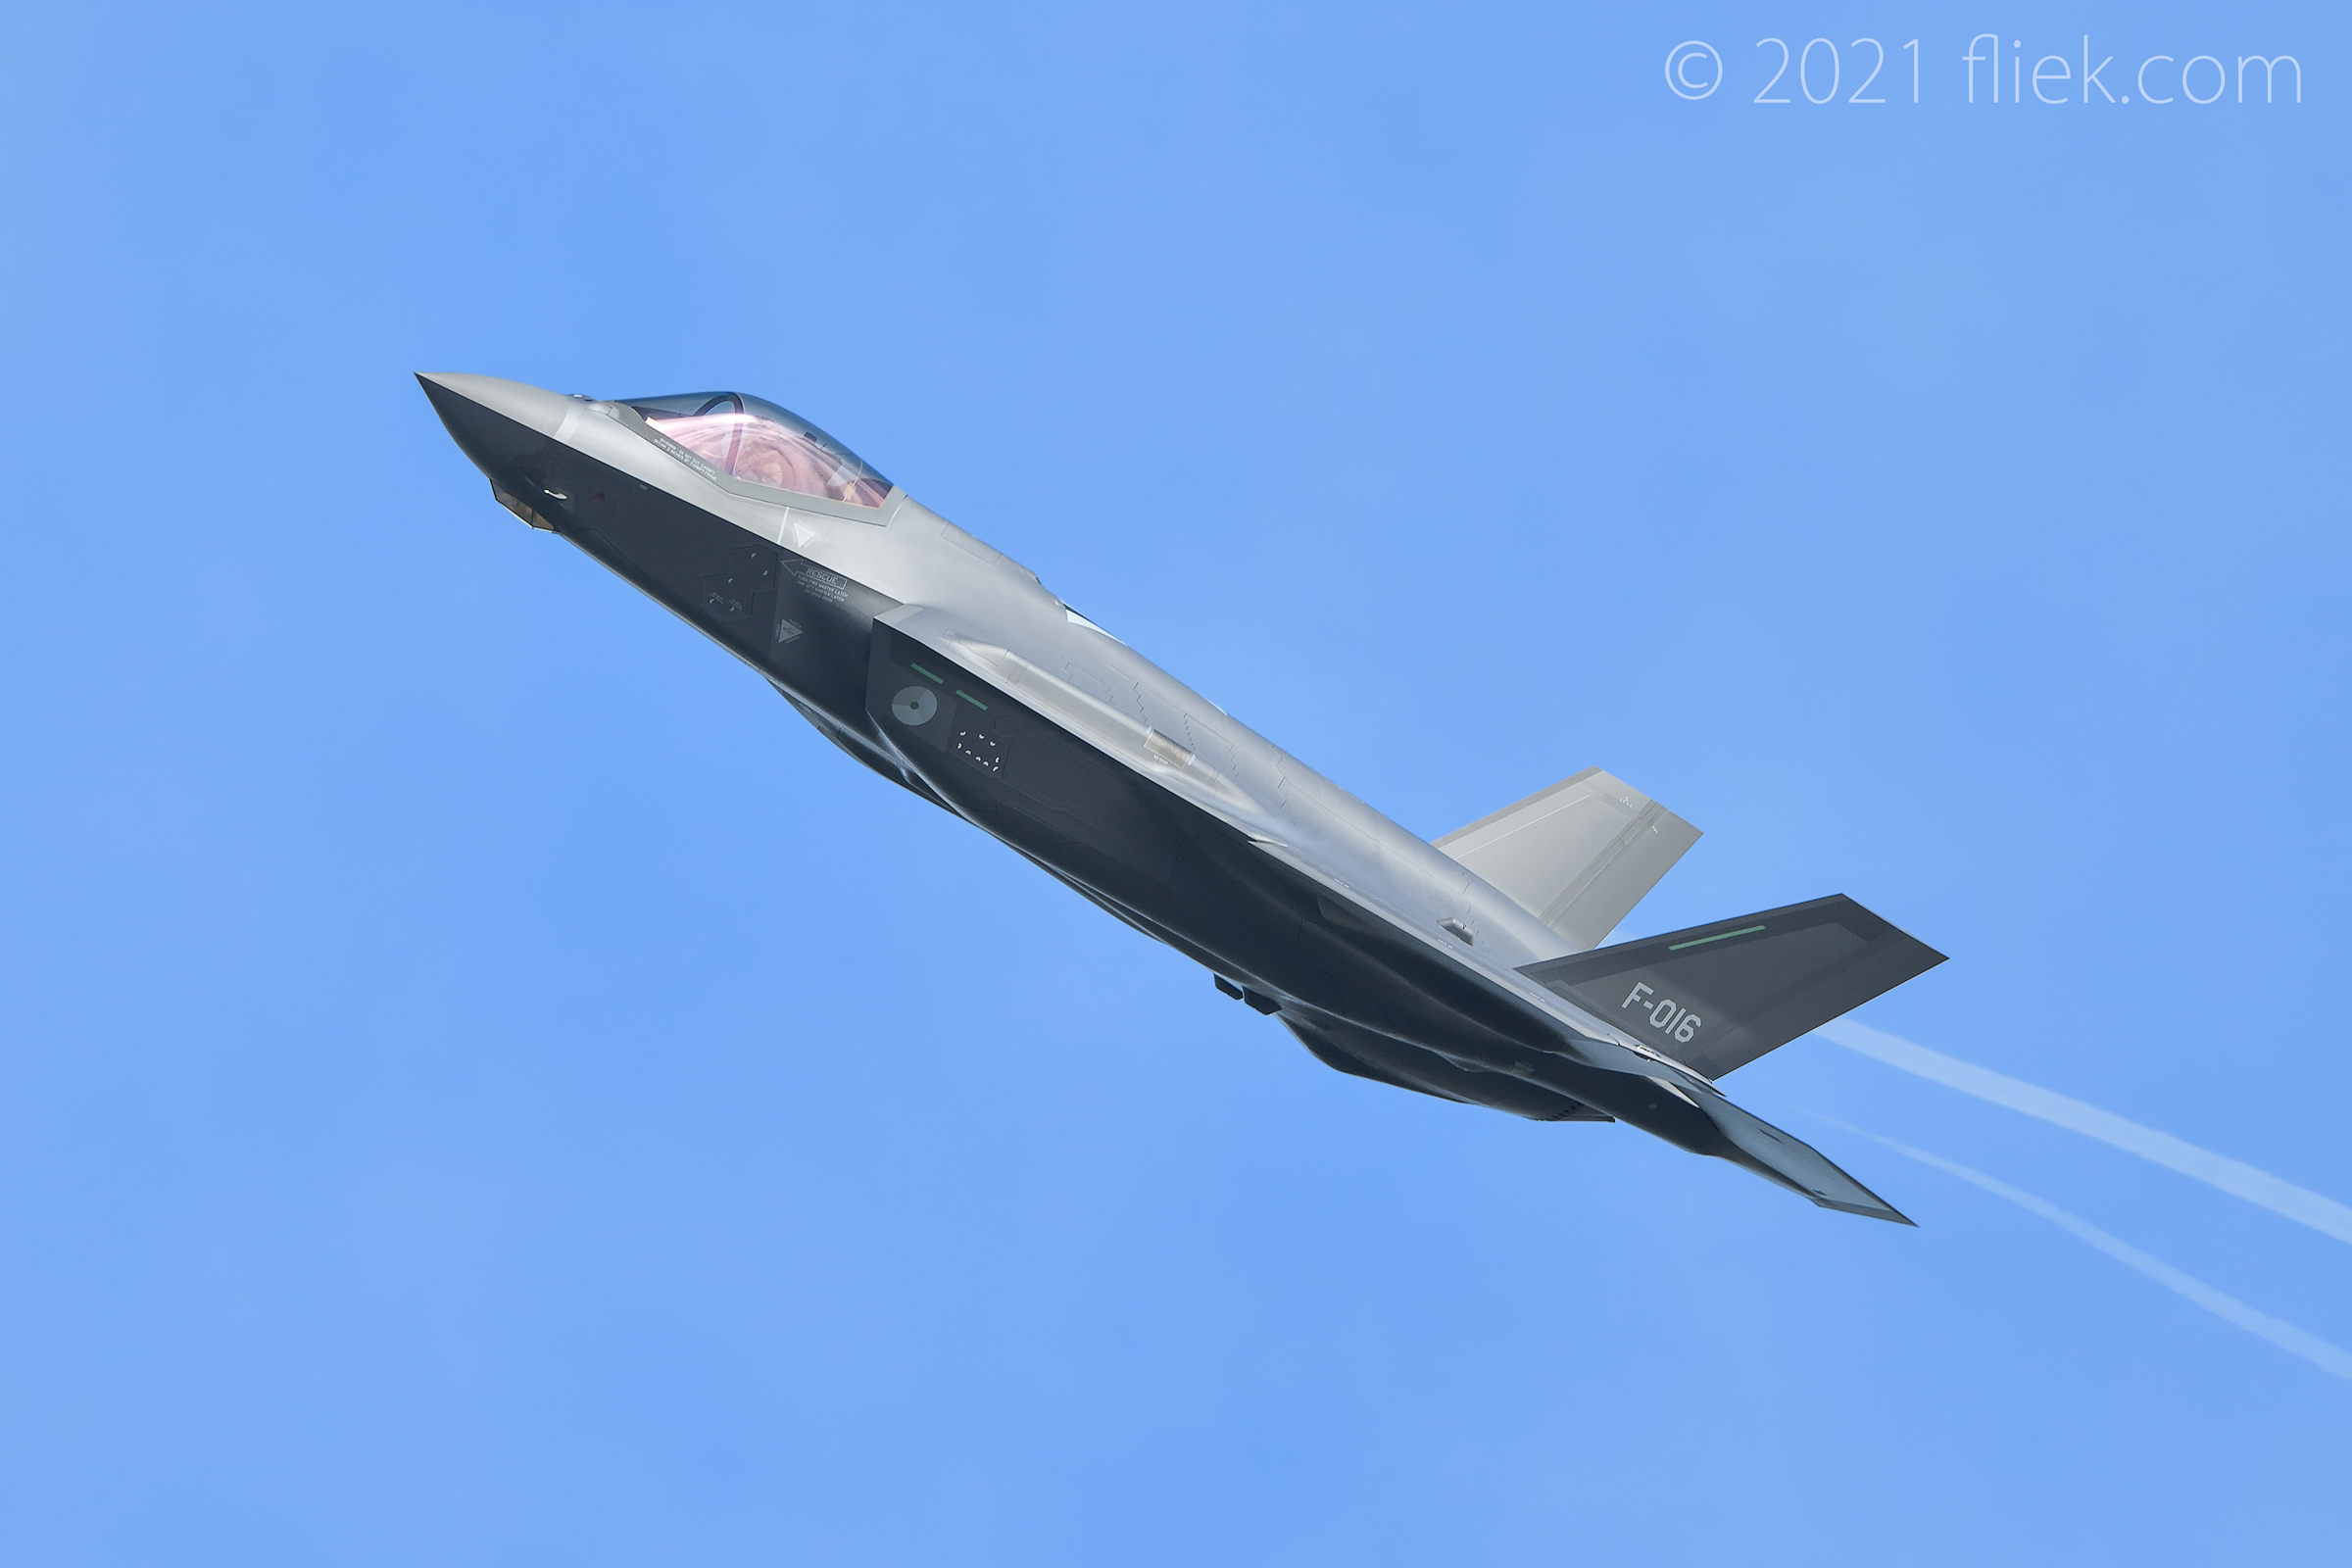
Once you understand this interesting feature you can better plan for the type of shot you’re after and anticipate, based on the movement of the jet if you’ll have a good chance to get the shot. Or if it’s best to leave the jet in your viewfinder for what it is and wait for the next one, and some more luck. But you can never be really sure: pilots sometimes make some seemingly unexpected rolls and it’s unclear to me wether it’s to help out the photographers down below or to get the most lift out of the wind direction. Or perhaps a little bit of both :)

“Illusion”
Nikon 600mm f/4E FL on Nikon D850, f/5.6, 1/2000 s., ISO 160, AF-Area Mode: 3D-tracking
This article will not be as lengthy as the previous one so I’ll just quickly go through some other settings I use for jet photography after some questions from readers.
I always shoot ‘full manual’ as exposure mode. In this setting you basically decide upfront which aperture and therefore depth of field (DoF) you want based on your focal length (longer focal length: smaller DoF), your sensor type (smaller sensor: larger DoF) and the distance between you and your subject (smaller distance: smaller DoF). You also decide which shutter speed you want to use based on the movement of your subject and available light. With a good quality camera and sensor, you can then set your ISO to auto, so the camera will take care of the necessary calculations to ensure your images will not get over- or under exposed. Here, ISO may get quite high (e.g. 64000-128000) but with a high quality sensor you’ll still get a decent IQ with relatively little noise.
I almost forgot: why do I actually shoot full manual? Because this significantly increases the chances to get the image you want by helping you to control the parameters that make or break an image: light, distance, and movement. Most cameras have other exposure modes as well; e.g. aperture priority (camera calculates shutter speed for you) and shutter priority (camera calculates aperture for you) but you’ll loose control over at least one critical parameter. With full manual you do need to think a little harder upfront before you start shooting, but with time and practice this will become as easy as riding a bicycle (in the Netherlands we ride a lot of bicycles, hence the analogy :).
The other three key parameters in the camera equation are frame rate, buffer size, and last but not least: number of sensor megapixels which has both benefits and drawbacks for your image and image quality. I’ll save these for my next article where I’ll add another illusionary jet image or two from my recent visit to the Dutch Airforce base.
And as always, just drop me a note on enquiry@fliek.com for any queries or for any (general) comments, send a mail to feedback@fliek.com. Twitter @LifeNaturePhoto

You must be logged in to post a comment.