
Unexpectedly I find myself going through my Snowy Owl series into 2022! There are a few more articles pending in this part (3) and then with part 4 this series will conclude. I’m not sure about what comes next; perhaps I’ll dig up some images from my previous travels and/or I’ll wait for what the Dutch Air Force has planned for the hopefully upcoming Frisian Flag exercises this April – it was cancelled twice due to the pandemic but now it’s fingers crossed for 2022.
In addition to the various very nice reactions I often receive on my site, every now and then I also get questions related to the image processing techniques I use. And “how do you get these sharp images” is definitely there in the top 3…
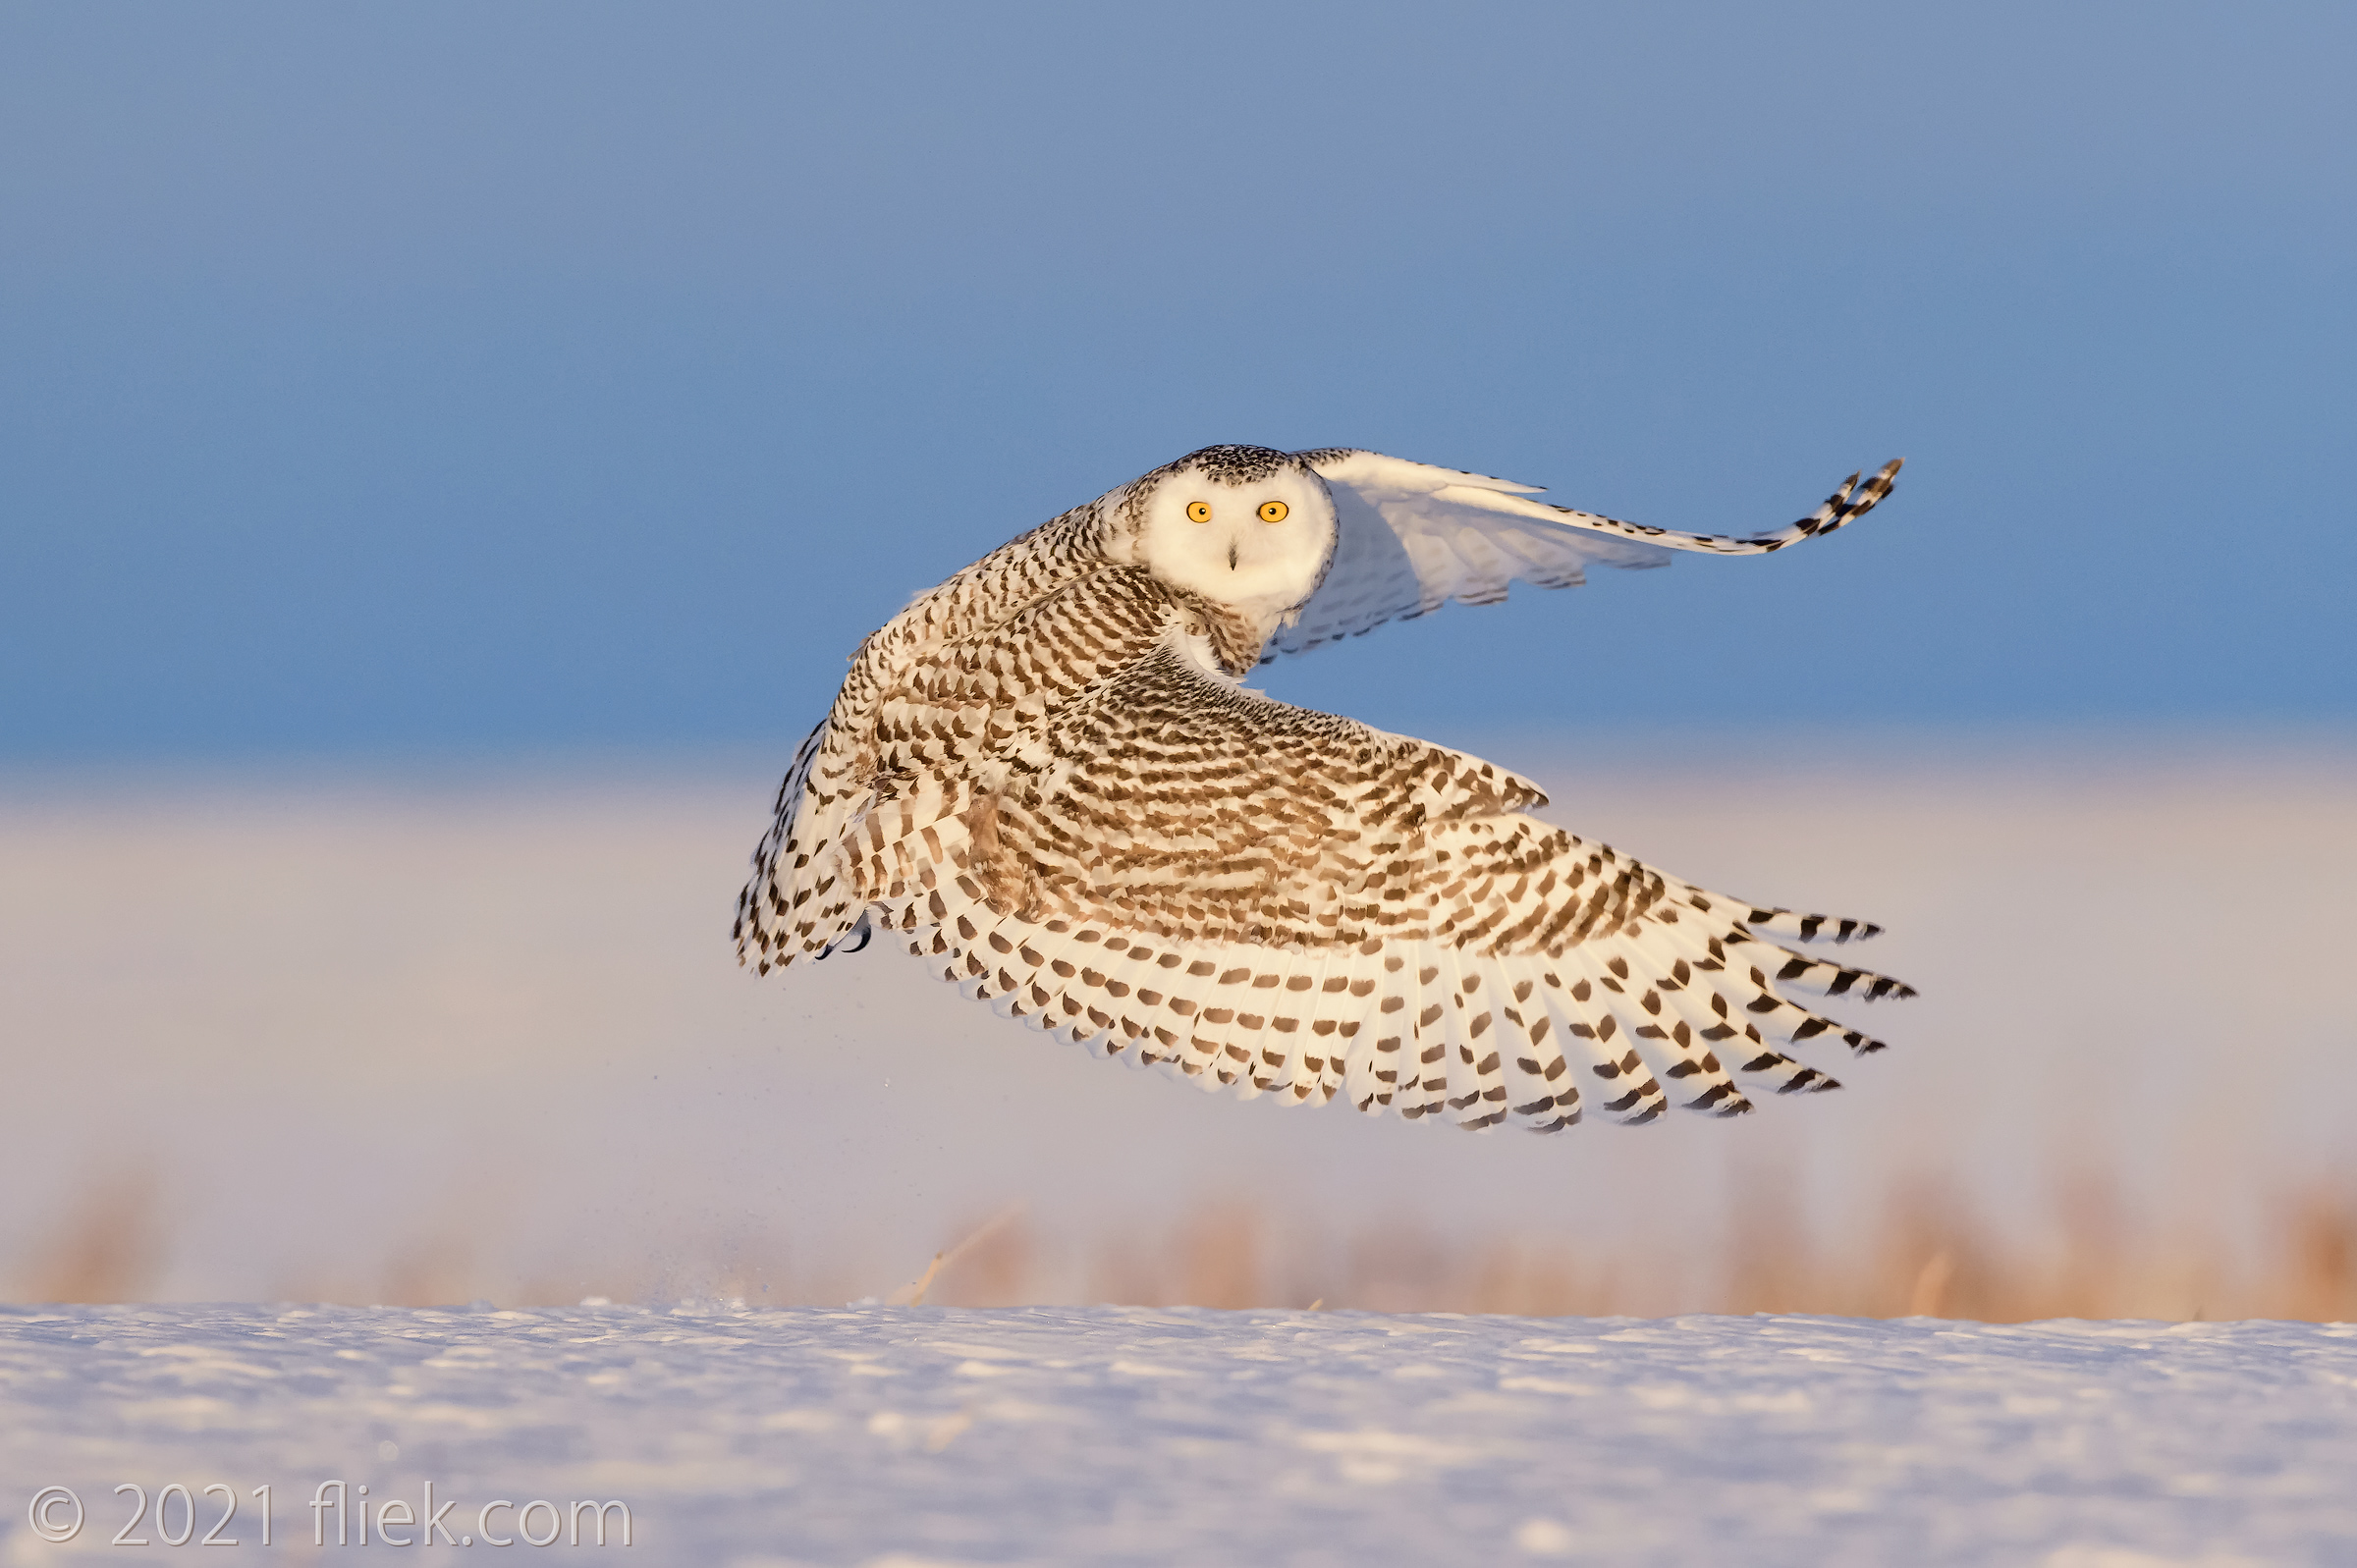
“Blue Sunset”
Nikon 600mm f/4E FL on Nikon D4S, f/5.6, 1/3200 s., ISO 2000, +1.0EV exp. comp.
As usual there is no single/simple answer. First of all, the right equipment can make all the difference. And in the world of (nature) photography this often means (too) expensive equipment… But even when you do manage to point that ridiculously expensive 600mm super telephoto lens towards a Snowy Owl just taking off without making a move (except for your finger releasing the shutter) you will still end up with an image that needs media-specific processing to make it look how you experienced it in reality – and in some cases how you would have preferred it to look in reality – not always the same.
Well, after more than a decade of trail and error (lots of errors) I still don’t have the right answer but I did pick up some tips & tricks that made my post-processing life a little easier. And one of these is Tony Kuyper’s Photoshop plugin which is now already in its eight generation. This plugin basically applies an existing Photoshop feature called masking, or more specifically ‘luminosity masking’ to your images in a much more user friendly way than available in standard Photoshop. Which begs the question why Adobe would not simplify the use of luminosity masking in a way so normal human beings could actually use it in the first place, but that’s a good thing for Tony Kuyper and somewhat of a mystery for the rest of us. By the way, Tony is a really nice guy and I’m always pleasantly surprised (well, the two times I contacted him) when he replies to queries very quickly.
I will not explain the detailed use of Tony’s panel in this article – Tony has a ton of both free and commercial videos available that can help you master the use of his wonderful Photoshop plugin. One of the features of Tony’s panel I ALWAYS use is the web sharpening one that basically generates a copy of your image with the right sharpening for web publishing based on the dimensions you provide. It comes (off course) with luminosity masks that you can modify (in terms of transparency) to give it the image sharpening of your liking. However, be careful about the extent of sharpening applied: better too little than too much.
Stay tuned for my next article and image in this series… and Happy 2022! :)
As always, just drop me a note on enquiry@fliek.com for any queries or for any (general) comments, send a mail to feedback@fliek.com.

You must be logged in to post a comment.